This site is supported by our readers. We may earn a commission, at no cost to you, if you purchase through links.
 You’ve got to keep those doggy nails in check!
Regular dog nail trimming is really important to prevent painful tendon injuries.
When nails get too long, they force your pup’s paws into awkward positions, straining those delicate tendons.
It’s like walking in shoes two sizes too small – ouch!
Trim every 2-4 weeks, depending on your dog’s lifestyle.
Use sharp clippers or a grinder, and always watch.
Table Of Contents
- Key Takeaways
- The Importance of Regular Dog Nail Trimming
- Essential Tools for Safe Nail Trimming
- Identifying the Quick to Avoid Injury
- Proper Positioning for Stress-Free Nail Trimming
- Step-by-Step Guide to Trimming Dog Nails
- Gradual Trimming to Encourage Quick Recession
- Recognizing and Addressing Overgrown Nails
- Emergency Procedures for Accidental Quick Cutting
- Training Your Dog for Stress-Free Nail Trims
- Alternative Methods: Nail Grinding Vs. Clipping
- Frequently Asked Questions (FAQs)
- How do you secure a dog for nail trimming?
- How can I cut my dog’s nails without hurting them?
- Why is my dog limping after nail trim?
- How do I stop my dog from moving when I cut his nails?
- How often should I trim my dogs nails?
- Can I use human nail clippers for dogs?
- Are black nails harder to trim safely?
- Should I trim my puppys nails differently?
- Can diet affect nail growth and strength?
- Conclusion
Key Takeaways
- Regular nail trimming is a must to prevent painful tendon injuries and maintain your pup’s overall health. Overgrown nails can strain delicate paw structures, leading to discomfort and mobility issues.
- Mastering the art of quick identification is key to safe trimming. Shine a light behind the nail to spot the sensitive inner core, and adjust your technique for light versus dark nails.
- Creating a calm, comfortable environment and using proper hand positioning are essential for a stress-free nail trim. Secure your pup gently but firmly, and watch for signs of anxiety to keep them relaxed.
- Gradual, incremental trimming is the secret to encouraging quick recession and making future nail care easier. Stay flexible and adjust your schedule based on your dog’s breed, age, and activity level.
The Importance of Regular Dog Nail Trimming
You might think your dog’s nails are just a minor grooming concern, but regular trimming is really important for preventing painful tendon injuries and maintaining your furry friend’s overall health.
Keeping those claws in check is not just about avoiding scratched floors.
You’re safeguarding your pup’s paw posture, reducing the risk of ingrown nails, and ensuring they can strut their stuff with comfort and ease.
Preventing Tendon Injuries
Fido’s fancy footwork relies on healthy tendons. You’ll save your pup from painful injuries by keeping those nails in check. Regular trimming prevents overgrowth that can strain and damage the delicate structures in your dog’s paws.
Maintaining Proper Paw Posture
Think of your dog’s nails as their foundation. When they’re too long, it’s like walking in ill-fitting shoes. Proper trimming helps your pup’s paws stay aligned, preventing awkward gaits and potential joint issues down the road.
Reducing Risk of Ingrown Nails
Regular nail trims aren’t just about paw posture; they’re your best defense against ingrown nails. These pesky intruders can turn your pup’s toes into a painful playground. Don’t let overgrown nails become your dog’s Achilles’ heel!
Enhancing Overall Mobility and Comfort
Countless dogs suffer from mobility issues due to overgrown nails. Regular trimming enhances your pup’s comfort and agility. Here’s how it helps:
- Prevents joint strain
- Improves balance
- Reduces slipping on smooth surfaces
- Encourages natural gait
Essential Tools for Safe Nail Trimming
Now that you understand why nail trimming is important, let’s gear up for the task.
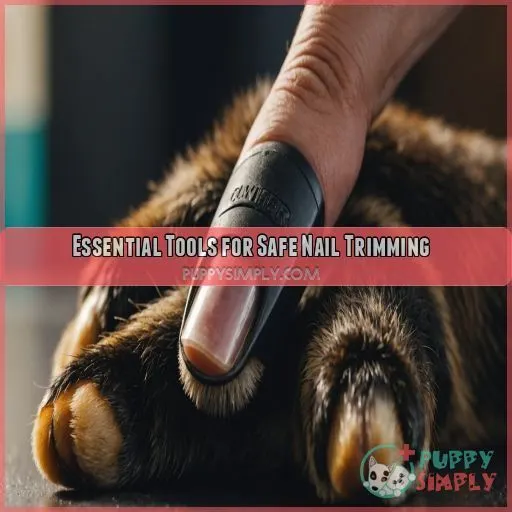
You’ll want to gather the right tools to make the process smooth and safe for your furry friend.
Start with a pair of high-quality dog nail clippers; they’re your bread and butter.
Think of them as your dog’s personal manicure set!
For those who prefer a gentler approach, consider a nail grinder.
Identifying the Quick to Avoid Injury
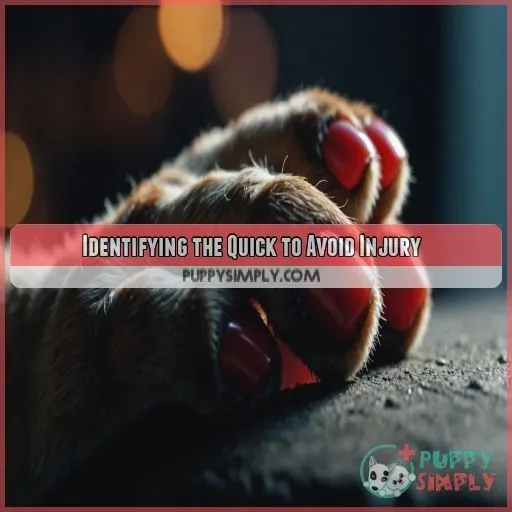
You’re about to become a dog nail trimming pro, but first, let’s tackle the trickiest part: finding that elusive quick. Understanding your pup’s nail anatomy and mastering quick-spotting techniques will help you trim with confidence, preventing those painful "oops" moments that’ll have both you and your furry friend howling.
Anatomy of a Dog’s Nail
Understanding your dog’s nail anatomy is key to safe trimming dog nail anatomy.
. The quick, a sensitive inner core, is your main concern. Here’s what you need to know:
- Outer shell: hard keratin
- Inner quick: blood vessels and nerves
- Growth pattern: from the base
- Color variations: clear to dark
Techniques for Locating the Quick
Now that you’re familiar with nail anatomy, let’s pinpoint that pesky quick. Shine a bright light behind the nail, revealing its inner structure. The quick appears as a pinkish area—steer clear to avoid a yelp!
Differences in Light and Dark Nails
Spotting the quick in light nails is a breeze, but dark nails? That’s a whole different ball game. You’ll need a keen eye and maybe a flashlight to navigate those shadowy depths safely.
Using Nail Grinders Vs. Clippers
Nail color affects quick visibility, but grinders and clippers each have unique advantages. Grinders offer precision, while clippers provide quick results. Consider your dog’s temperament and your comfort level when choosing:
- Grinders: Gentle, but noisy
- Clippers: Fast, but require skill
- Both: Effective with practice
Proper Positioning for Stress-Free Nail Trimming
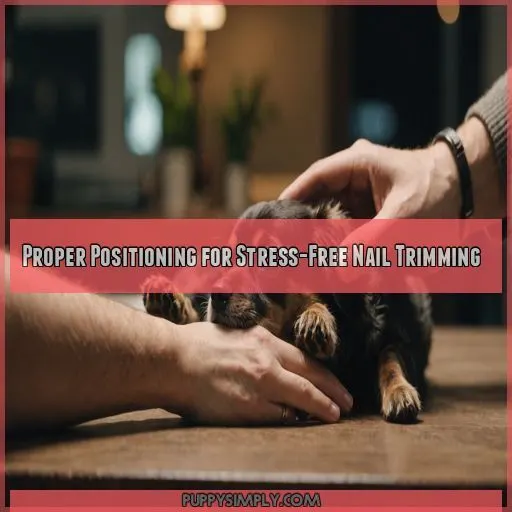
Getting the right position is super important for a stress-free nail trimming experience for both you and your furry friend. By creating a calm environment and using the right hand placement, you’ll be able to manage even the wiggliest pups while preventing painful tendon injuries.
Creating a Calm Environment
Now that you’ve mastered quick identification, let’s set the stage for a zen nail trim. Imagine this: soft tunes, dim lights, and a comfy spot. It’s like a doggy spa day, minus the cucumber slices!
Securing Your Dog Comfortably
Now that you’ve set the stage, let’s get your furry friend in position. Securing your dog comfortably is key to a stress-free trim. Here are five expert tips:
- Use dog wraps for wiggly pups
- Employ calming aids like pheromone sprays
- Practice safe restraint techniques
- Watch for anxiety signs in body language
- Try different positions until you find the sweet spot
Optimal Hand Placement
For the best hand placement, cradle your pup’s paw like it’s a delicate flower. Your thumb should gently press the pad, while your fingers support the top. This grip gives you control without causing discomfort.
Managing Wiggly or Anxious Dogs
For wiggly or anxious pups, staying calm is key. Your energy affects theirs, so take a deep breath and try these tricks:
- Use a calming p
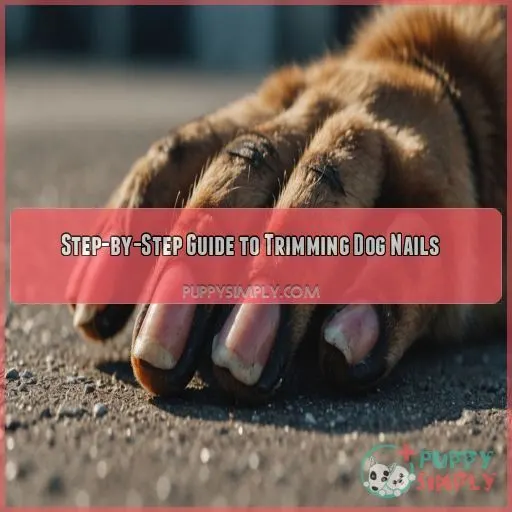
Step-by-Step Guide to Trimming Dog Nails
You’re about to become a pro at trimming your dog’s nails without causing any painful mishaps understanding the quick.
. Follow our step-by-step guide to master the art of safe nail trimming, from properly holding your pup’s paw to tackling those tricky dewclaws trimming dew claws.
.
Preparing Your Dog for the Process
Now that you’ve set the stage, let’s get your furry friend ready for their manicure. Here’s how to prepare your pup for a stress-free nail trim:
| Step | Action | Tip |
|---|---|---|
Choose location Pick a quiet spot Avoid distractions Gather supplies Clippers, treats, towel Keep everything within reach - Introduce tools
Holding the Paw Correctly
Now that your pup’s ready, let’s master the art of holding their paw. It’s like a dance – you lead, they follow. Here’s your grip guide:
- Cradle the paw gently but firmly
- Support the pad with your thumb
- Spread the toes slightly for better visibility
- Adjust your grip based on your dog’s reaction
Trimming Technique for Front Paws
A steady hand leads to happy paws. When trimming your dog’s front nails, position yourself comfortably and follow these steps:
| Step | Action | Tip |
|---|---|---|
| 1 | Hold paw firmly | Gently squeeze paw pad to extend nails |
| 2 | Identify quick | Look for pink area in light-colored nails |
| 3 | Clip at 45° angle | Trim small amounts to |
Trimming Technique for Hind Paws
Now, let’s tackle those back paws! They’re a bit trickier, but don’t worry.
Addressing Dewclaws
Don’t forget those often-overlooked dewclaws! These little appendages need love too. Here’s how to tackle them:
- Check for mobility – some dewclaws are floppy, others are tight
- Use a smaller clipper for precision
- Trim gradually to avoid hitting the quick
Gradual Trimming to Encourage Quick Recession
You might think your dog’s nails are a minor grooming concern, but gradual trimming is really important for preventing painful tendon injuries. By trimming your pup’s nails regularly and in small increments, you’ll encourage the quick to recede, making future nail care easier and safer for your furry friend.
Frequency of Nail Trimming Sessions
You’ve mastered the nail-trimming technique, but how often should you do it? Let’s explore the ideal frequency for your furry friend’s pedicure sessions. Consider these factors:
| Factor | Impact | Trimming Frequency |
|---|---|---|
| Dog breed | Affects nail growth rate | Varies by breed |
| Lifestyle | Active dogs wear nails down | Less frequent trims |
| Age/Season | Puppies grow faster; summer increases wear | Adjust accordingly |
Incremental Nail Shortening
Regularly trim your dog’s nails in small increments to encourage quick recession. Here’s your three-step game plan:
- Snip just the tip weekly
- Gradually increase trimming frequency
- Adjust based on your pup’s nail growth rate
Monitoring Quick Retraction
How can you tell if your efforts are working? Watch for signs of quick retraction after each trim. You’ll notice the pink area slowly receding, allowing for shorter nails. This process varies by dog breed and nail growth rate.
Adjusting Trimming Schedule as Needed
Keep an eye on that quick! As it recedes, you’ll need to adjust your trimming schedule. Your dog’s breed, activity level, and age all play a part in nail growth. Stay flexible and you’ll nail it!
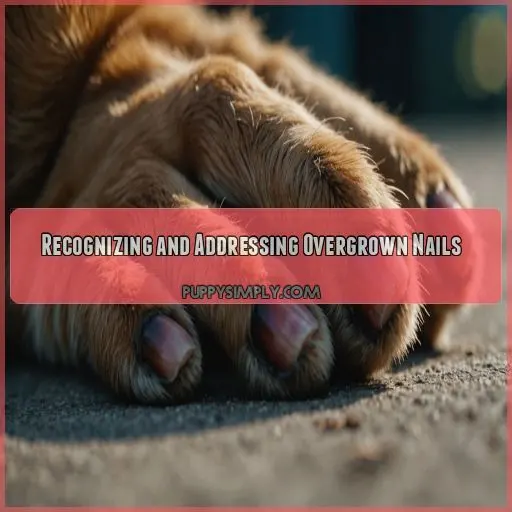
Recognizing and Addressing Overgrown Nails
Overgrown nails can be a real pain for your furry friend, causing discomfort and potential injuries. Let’s explore how to spot those pesky long nails and tackle them safely, ensuring your pup’s paws stay happy and healthy.
Signs of Excessively Long Nails
You’ve mastered gradual trimming, but what about those stubborn nails? Watch for telltale signs: your pup’s paw posture might change, and you’ll hear clicking sounds on hard floors. Notice any difficulty walking or oddly-shaped nails? Time to act!
Risks Associated With Overgrowth
Your pup’s long nails aren’t just unsightly – they’re a ticking time bomb! Overgrown nails can lead to pain, discomfort, and even deformed paws. Plus, you’re risking tendon injuries and those pesky ingrown nails. Let’s nip this problem in the bud!
Corrective Trimming Techniques
To tackle overgrown nails, start with three key techniques. First, trim a smidge every few days to encourage quick recession. Second, use a nail file to smooth rough edges. Third, moisturize paw pads to prevent splitting.
Seeking Professional Help if Necessary
Sometimes, even with your best efforts, your pup’s nails might become unmanageable. Don’t fret! It’s time to call in the cavalry. Here’s when to seek professional help:
- Your dog’s nails are curling under
- You hear a "click-clack" on hard floors
- Your furry friend winces while walking
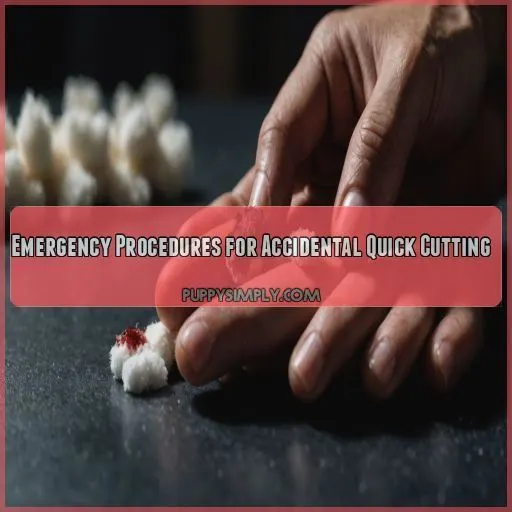
Emergency Procedures for Accidental Quick Cutting
Accidentally cut your pup’s quick during a nail trim? Don’t panic – we’ve got your back. First, quickly stop the bleeding using styptic powder or a DIY alternative, then keep a close eye for any signs of infection. If the bleeding persists or you have concerns, it’s best to consult your vet.
Immediate First Aid Steps
Cutting the quick can turn
Using Styptic Powder or Alternatives
Fumbling for styptic powder? Don’t panic! Your kitchen’s got you covered. Grab cornstarch or flour – they’re surprisingly effective at clotting. Just dab a pinch on the nail and watch the bleeding stop like magic.
Monitoring for Infection
After stopping the bleeding, keep a watchful eye on your pup’s nail. Infection can sneak up, so stay vigilant. Here are key signs to monitor:
- Redness or swelling around the nail
- Unusual warmth in the affected area
- Pus or discharge oozing from the nail
- Your dog licking or favoring the paw excessively
- Changes in nail color or texture
When to Consult a Veterinarian
After immediate first aid, keep an eye on your pup’s nail. If bleeding persists beyond 15 minutes, swelling occurs, or your dog shows signs of discomfort, it’s time to ring up your vet pronto.
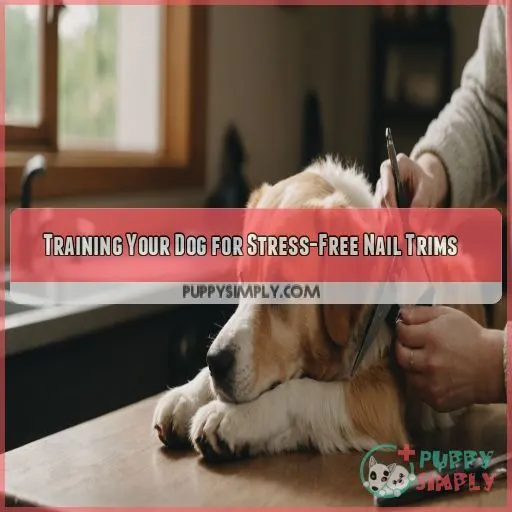
Training Your Dog for Stress-Free Nail Trims
You’re about to become
Desensitization Techniques
Now, let’s tackle the nail-biting challenge of desensitizing your furry friend. Start by introducing the clippers during cuddle time. Let your pup sniff and lick them, turning these scary tools into familiar playthings.
Positive Reinforcement Strategies
Treats are your secret weapon in the nail-trimming battlefield. Use positive reinforcement to transform your pup’s dreaded pedi into a tail-wagging experience:
- Shower praise like confetti
- Offer high-value treats as rewards
- Introduce favorite toys for distraction
Incorporating Nail Care Into Routine
Think of nail care as a fun bonding ritual, not a chore. Incorporate quick trims into your pup’s daily routine, perhaps during cuddle time or after walks. Consistency is key – your furry friend will thank you!
Addressing Anxiety and Fear
Now that you’ve made nail care a habit, let’s tackle anxiety head-on. Many dogs fear nail trims, but you can change that using a Dremel for nail trimming.
. Here are three calming techniques to try:
- Use treats liberally
- Practice touch desensitization
- Provide a cozy "nail trim station
Alternative Methods: Nail Grinding Vs. Clipping
Keeping your furry friend’s nails in check, you have options beyond the traditional clippers. Let’s explore nail grinding and how it compares to clipping, so you can choose the best method for your pup’s pedicure needs.
Pros and Cons of Each Method
Now that you’ve trained your pup, let’s explore your trimming options. Clippers and grinders each have their perks and quirks. Here’s a quick rundown:
| Feature | Clippers | Grinders |
|---|---|---|
| Speed | Fast | Slow |
| Noise | Quiet | Loud |
| Precision | Good | Excellent |
| Learning curve | Easy | Moderate |
| Best for | Most dogs | Anxious pups |
Choosing the Right Technique for Your Dog
Now that you’ve weighed the pros and cons, it’s time to pick the perfect technique for your furry friend. Consider these factors:
- Your dog’s breed
- Their nail type
- Their age and fear level
Transitioning Between Methods
Switching
Combining Techniques for Optimal Results
You’ve mastered the art of switching tools. Now, let’s combine clippers and grinders for nail-trimming perfection. This dynamic duo can help you achieve your dog’s ideal nail length while maintaining healthy paw posture. Ready to level up?
Frequently Asked Questions (FAQs)
How do you secure a dog for nail trimming?
Hold your pup gently but firmly, using treats to keep them calm. You can cradle small dogs in your lap or have larger ones lie on their side. A helper can be a lifesaver for wiggly pooches!
How can I cut my dog’s nails without hurting them?
To trim your dog’s nails safely, start by identifying the quick understanding overgrown dog nails.
. Clip small bits at a time, following the nail’s natural curve. Stop when you see a grayish-pink oval
Why is my dog limping after nail trim?
Your pup’s limping could be from cutting too close to the quick, causing pain or inflammation. It’s also possible you nicked a tendon or the nail bed. If it persists, consult your vet for a thorough check-up.
How do I stop my dog from moving when I cut his nails?
To keep your pup still during nail trims, try a "pawsome" distraction like peanut butter on a lick mat. Gradually desensitize them to the process, and use positive reinforcement. If all else fails, a helper’s gentle hold can work wonders.
How often should I trim my dogs nails?
Did you know? 85% of dogs need nail trims every 2-4 weeks, a safe and effective way to trim.
. You’ll want to check your pup’s nails weekly, trimming when they’re clicking on the floor. It’s a nail-biting task, but you’ve got this!
Can I use human nail clippers for dogs?
You can use human nail clippers on small dogs, but it’s not ideal. They’re like a one-size-fits-all hat—okay for some, terrible for others. Invest in dog clippers for safer, more controlled results. Your pup’s worth it!
Are black nails harder to trim safely?
Black nails are trickier to trim because you can’t see the quick. Picture it like playing hide and seek with a ghost! Go slow, be cautious, and use a flashlight to find your way (Source).
Should I trim my puppys nails differently?
Yes, you should trim your puppy’s nails differently. Puppies have softer, more sensitive nails that require a gentler approach. Start with short, frequent sessions, use positive reinforcement, and avoid cutting the quick to prevent pain and injury. (Source)
Can diet affect nail growth and strength?
Just as a gardener’s care helps strong plants, your dog’s diet boosts nail strength and growth. A balanced diet with proteins, vitamins, and omega-3 fatty acids can make their nails as tough as iron.
Conclusion
Did you know overgrown nails can add strain to a dog’s tendons, impacting their mobility by up to 25%?
Keeping on top of dog nail trimming can prevent tendon injuries and keep your furry friend comfy and healthy.
Using the right tools, mastering techniques, and creating a calm environment are keys to success.
Let’s make sure their tails keep wagging without discomfort!

