This site is supported by our readers. We may earn a commission, at no cost to you, if you purchase through links.
To avoid cutting your dog’s nails too short, start by familiarizing yourself with nail anatomy.
The quick is your nemesis here, so trim small amounts frequently and use a bright light to spot it.
Choose quality clippers with safety guards, and always cut at a 45-degree angle.
Desensitize your furry friend to nail handling and make trimming a positive experience with treats and praise.
If you’re still nervous, try trimming after bath time when nails are softer.
With these tips, you’ll be a nail-trimming pro in no time, keeping those paws happy and healthy!
Table Of Contents
- Key Takeaways
- Dog Nail Anatomy 101
- Preparing for Safe Nail Trimming
- Trimming Dog Nails Safely
- Avoiding the Quick and Preventing Accidents
- Stopping Dog Nail Bleeding
- Aftercare and Bandaging
- Special Considerations and Veterinary Care
- Frequently Asked Questions (FAQs)
- How to keep dogs’ nails short without clipping?
- How do you trim a dog’s nails when they are too long?
- How to stop the quick from bleeding?
- What to do if I cut my dog’s nail and it bleeds?
- How often should I trim my dogs nails?
- Can I use human nail clippers for dogs?
- Whats the best time to trim dog nails?
- Are there alternatives to traditional nail clipping?
- How can I train my dog to enjoy nail trims?
- Conclusion
Key Takeaways
- You’re not alone if you’re nervous about trimming your pup’s nails—but with a little know-how, you’ll be a pro in no time. Get familiar with your dog’s nail anatomy, especially the quick, and you’ll avoid those "oops" moments that make both of you cringe.
- Your toolkit matters more than you think. Invest in quality clippers with safety guards—they’re like training wheels for your trimming technique. And here’s a pro tip: try trimming after bath time, when those nails are softer than a puppy’s belly.
- Slow and steady wins the race when it comes to nail trimming. Take small snips at a 45-degree angle, and you’ll be less likely to hit the quick. It’s like nibbling on a candy bar—savor it bit by bit, and you’ll enjoy the process more.
- Turn nail trimming into a positive experience for your furry friend. Use treats, praise, and patience to make it a bonding moment rather than a horror show. Before you know it, your pup will be wagging their tail at the sight of those clippers!
Dog Nail Anatomy 101
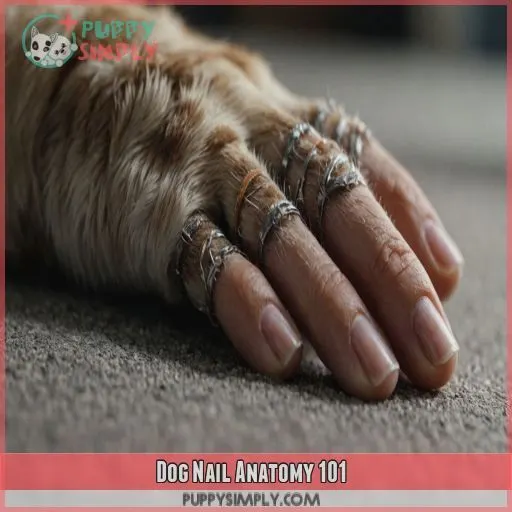
You’re about to become a pro at trimming your dog’s nails, but first, let’s get familiar with the basics of dog nail anatomy. Understanding the different parts of your dog’s nail, including the keratin shell, quick, pulp, and nail bed, will help you avoid those dreaded accidental cuts and keep your furry friend’s paws healthy and happy.
The Keratin Shell and Its Functions
You’re ready to master dog nail anatomy. Let’s start with the keratin shell, the outermost layer of your dog’s nails. Here are three key things to know:
- Keratin Shell Protection: The keratin shell shields the sensitive quick and pulp from damage.
- Nail Durability Factors: The shell’s thickness and hardness determine your dog’s nail durability.
- Shell Growth Patterns: The keratin shell grows with the nail, requiring regular trims to prevent overgrowth.
The Quick: What You Need to Know
Now that you know about the keratin shell, let’s talk about the quick – the sensitive part of your dog’s nail that’s filled with nerves and blood vessels. Cutting the quick can be painful for your dog and cause bleeding. As the nail grows, so does the quick, making regular trims necessary to prevent overgrowth and nerve damage.
The Pulp and Nail Bed Explained
Let’s talk about the pulp and nail bed – the dynamic duo that keeps your dog’s nails healthy.
The pulp is a soft tissue layer surrounding the quick, packed with blood vessels and nerve endings, making it super sensitive.
The nail bed, rich in blood supply, supports nail growth and tissue regeneration.
However, the nail bed is also prone to injuries if you cut those nails too short.
Preparing for Safe Nail Trimming
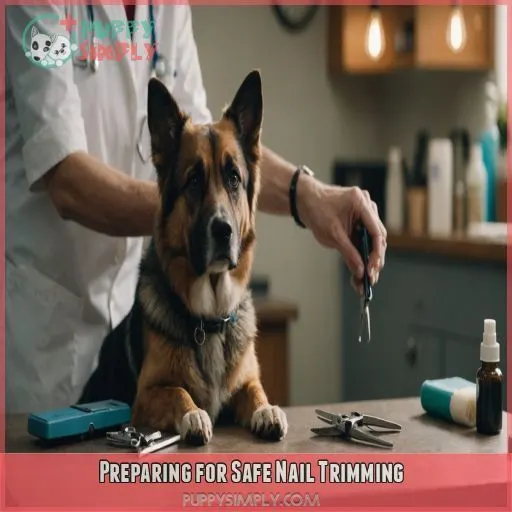
As you get ready to trim your dog’s nails, it’s helpful to prepare them (and yourself!) for a calm and safe experience. Introducing your dog to nail clippers, choosing the right tool, getting them used to you touching their nails, and trimming post-bath can help steer clear of those nail-cutting accidents (Source).
Introducing Your Dog to Nail Clippers
Now that you know your dog’s nail anatomy, it’s time to introduce those nail clippers! Start by simply showing them to your dog, then reward calm behavior. Gradually increase exposure, touching the clippers to their paws while giving treats. This desensitization technique will help your furry friend feel more at ease, making nail trimming a breeze.
Choosing the Right Trimming Tool
Choosing the right trimming tool is essential for safe nail trimming. You’ve got options: guillotine-type trimmers, scissors-type trimmers, and nail clippers. Consider your dog’s nail type and size when selecting a tool. Look for materials like stainless steel or high-quality plastic. A good trimming tool will make all the difference in your nail-trimming journey.
Desensitizing Your Dog to Nail Handling
Now that you’ve chosen the right trimming tool, it’s time to get your dog comfortable with nail handling. Start with Nail Touch Therapy: gently massage your dog’s paws, making it a positive experience with treats and praise. Gradual desensitization is key. Begin with short sessions, increasing the duration as your dog becomes more relaxed.
Trimming Nails After Bathing for Best Results
Trimming your dog’s nails after bathing is a genius move! Their nails are softer, making them easier to clip. Here’s why it’s a great idea:
- Softer nails: Post-bath nails are less brittle and less likely to split.
- Easier to trim: Soft nails are a breeze to clip, reducing the risk of cutting the quick.
- Less stress: Trimming after a bath can be a calming experience for your dog.
- Better results: You’ll get a smoother finish and a reduced risk of nail breakage.
Trimming Dog Nails Safely
You’re about to tackle one of the most important (and sometimes intimidating) tasks in dog grooming: nail trimming. By following these pro tips, you’ll learn how to trim your dog’s nails safely and effectively, avoiding those dreaded too-short cuts that can be painful for your pup (Source).
Using a Good Quality Nail Trimmer
For trimming your furry friend’s nails, a good quality nail trimmer is your best friend. It’s like having the right tool for the job – you wouldn’t use a butter knife to chop vegetables, would you? Choose trimmers with sharp blades, ergonomic handles, and safety features. They’ll make the task a breeze and keep your pup’s paws happy and healthy.
Trimming Techniques for Avoiding the Quick
Trimming your dog’s nails doesn’t have to be a nail-biting experience! With the right techniques, you’ll be cutting with confidence in no time. Here are three pro tips to keep your pup’s paws happy:
- Angle it right: Cut at a 45-degree angle to avoid the quick
- See the light: Use a bright light to spot the quick, especially in black nails
- Slow and steady: Trim small amounts frequently rather than large chunks rarely
The 7-Step Guide to Confident Trimming
Ready to become a nail-trimming pro? Follow this 7-step guide to boost your confidence:
- Gather your tools
- Position your pup comfortably
- Locate the quick
- Trim small amounts at a time
- Use positive reinforcement
- Take breaks if needed
- Apply a nail file for smooth edges
Staying Calm and Patient During Trims
Now that you’ve got your trimming technique down pat, let’s tackle the mental game. Staying calm during nail trims isn’t just good for youit’s essential for your furry friend too. Dogs can sense our anxiety, so take a deep breath and channel your inner zen master. Here are three tricks to keep your cool:
- Practice deep breathing exercises
- Use positive reinforcement with treats
- Take short breaks if needed
Avoiding the Quick and Preventing Accidents
Trimming your dog’s nails can be a nerve-wracking experience, but it doesn’t have to be a nail-biting ordeal. With these pro tips, you’ll learn how to avoid the dreaded quick and keep your pup’s paws perfectly manicured without any oopsie-daisies.
Identifying the Pre-Quick Area
Now that you’re comfortable with the trimming process, let’s tackle the tricky part: spotting the pre-quick area. Think of it as the nail’s "danger zone."
Look for visual cues like a change in nail thickness or color. As you trim, you might notice the pulp becoming more visible.
Adjust your trimming angle to stay safe. Remember, it’s better to be cautious than to risk a "quick" mistake!
Trimming Small Amounts at a Time
Now that you’ve identified the pre-quick area, it’s time for the "little and often" approach.
Think of it like nibbling on a candy bar – you savor it bit by bit. Take tiny snips, about 1-2mm at a time.
This gradual approach gives you better control and lets you visualize the nail’s structure clearly.
Using a Nail Trimmer With a Safety Guard
Ever felt like you’re walking a tightrope when trimming your pup’s nails?
The nail trimmer with a safety guard is a great solution. This nifty tool acts like training wheels for your trimming technique, preventing you from going too deep.
It’s a game-changer for newbies and nervous nellies alike. However, it’s essential to remember that while it’s a great safety net, it’s not foolproof.
Stay alert and trim with care!
Regular Trimming for Preventing Overgrowth
Now that you’ve got the right tools, let’s talk about keeping those nails in check.
Regular trimming is the secret sauce to preventing overgrowth and keeping the quick at bay.
Think of it as a weekly "pawdicure" – it’s not just about looking fancy, but also about keeping your pup comfortable and avoiding those nail-biting moments (pun intended) when you’re trying to trim long claws.
Stay on top of it, and you’ll both be happier campers!
Stopping Dog Nail Bleeding
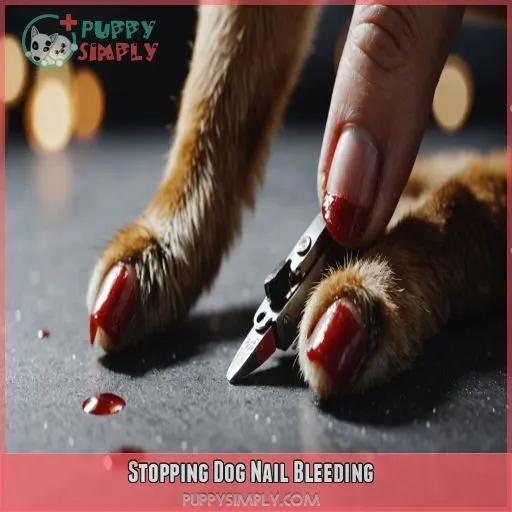
Uh-oh, you’ve accidentally nicked your pup’s quick and now there’s blood – don’t panic! Let’s explore some quick and effective ways to stop the bleeding and get your furry friend back on their paws in no time.
Applying Direct Pressure for Clotting
Accidents happen, even to the most careful pet parents. If you’ve nicked the quick, don’t panic. Your first line of defense is applying direct pressure. Grab a clean cloth or paper towel and press firmly on the bleeding nail. Here’s what you need to know:
- Apply steady pressure for at least 5 minutes
- Resist the urge to check too soon
- Keep your pup calm and still
- Elevate the paw if possible
Using Clotting Substrates Like Kwik-Stop Styptic Powder
When you’ve accidentally nicked your pup’s quick, don’t panic! Clotting substrates like Kwik-Stop Styptic Powder are your best friend. These miracle workers stop bleeding in a snap, giving you peace of mind. Here’s a handy guide to using these powders effectively:
| Application Method | Effectiveness |
|---|---|
| Dip nail in powder | Quick, messy |
| Press powder on nail | Precise, clean |
| Wet Q-tip application | Gentle, controlled |
| Puff applicator | Even coverage |
| Styptic pencil | Targeted, portable |
Home Remedies for Emergency Situations
If you’re caught without styptic powder, don’t panic! Your kitchen’s got your back. Here are some home remedies that’ll save the day:
- Cornstarch: This baking staple works wonders as a natural coagulant.
- Baking soda: Another pantry hero that’ll help clot the blood.
- Flour: In a pinch, it’ll do the trick to stop the bleeding.
Just apply these DIY solutions like you’d styptic powder. Remember, staying calm is half the battle when dealing with doggy nail emergencies!
Styptic Pencils for Quick Clotting
If you’re caught without your go-to powder, a styptic pencil can be your nail-trimming superhero. These travel-friendly options pack a powerful punch in stopping bleeds.
Simply apply the pencil directly to the nail, and watch as it works its magic.
While not as messy as powders, they’re just as effective.
Keep one in your doggy first-aid kit – it’s a small investment that’ll save you from big headaches!
Aftercare and Bandaging
Oops, accidents happen! If you’ve accidentally cut your dog’s nail too short, don’t panic – proper aftercare and bandaging can help your furry friend heal quickly and comfortably.
Compressing the Wound for Clotting
- Apply firm, steady pressure for 30 minutes
- Use a clean cloth or gauze pad
- Don’t peek! Lifting the compress too soon can restart bleeding
- If blood soaks through, add more layers without removing the original
- Resist the urge to check every few minutes – patience is key
Keeping Your Dog Off Its Feet
After applying pressure, it’s essential to give your dog’s paws a break. Think of it as a mini-vacation for their paws.
Use a comfy crate or create a cozy corner with their favorite bed to keep them comfortable and relaxed.
Offer plenty of belly rubs and treats to keep them content and happy.
If your dog is feeling antsy, try some gentle indoor games or puzzle toys to keep their mind occupied while their nail heals.
Washing and Bandaging the Affected Nail
After the bleeding’s under control, it’s time for some TLC.
Gently clean the affected nail with lukewarm water and pat it dry.
Choose a breathable bandage that’ll protect the nail without suffocating it – think of it as a cozy sleeping bag for your pup’s paw. Wrap it snugly, but not too tight. Remember, you’re aiming for protection, not a mummy costume.
Change the bandage daily to keep things fresh and promote healing.
Monitoring for Signs of Infection
- Redness or swelling around the nail
- Unusual discharge or odor
- Excessive paw licking or chewing
- Changes in behavior, like limping or yelping when touched
If you spot any of these red flags, don’t panic! Give your vet a call – they’re your trusty sidekick in nail care adventures.
Special Considerations and Veterinary Care
Dog nail trimming can be tricky, especially when dealing with black nails or unexpected bleeding. Let’s explore some special considerations and when it’s time to call in the pros for your pup’s pedicure predicaments.
Trimming Black Dog Nails With Caution
Black dog nails can be tricky, but don’t sweat it. You’ve got this.
Visualizing the quick is key, so shine a bright light on those dark nails. It’s like playing detective with your pup’s paws.
Take it slow and steady, trimming just a smidge at a time. If you’re feeling unsure, nail grinding can be a gentler option.
When to Seek Veterinary Care for Bleeding or Infection
While most nail trimming mishaps are minor, sometimes you’ll need to call in the pros. Keep an eye out for these red flags:
- Persistent bleeding that won’t stop after 20-30 minutes
- Signs of infection like redness, swelling, or discharge
- Discoloration or changes in nail appearance
Don’t play the waiting game if you spot these issues. Your furry friend’s comfort is top priority, so when in doubt, give your vet a shout!
Signs of Pain or Discomfort During Trimming
Watch for signs your pup’s not enjoying their mani-pedi! If Fido’s yelping, whimpering, or tucking his tail, it’s time to hit pause. Excessive paw licking or ear flattening are also red flags. Remember, your furry friend can’t tell you "Ouch!" in words, so it’s up to you to be their voice. A stress-free trim keeps tails wagging and paws happy!
Consulting a Veterinarian for Advice
When in doubt, don’t hesitate to consult your vet.
They’re like nail-trimming ninjas, armed with expert tips and tricks.
Whether you’re facing black nail challenges or post-trim blues, your vet’s got your back.
They can demonstrate proper techniques, offer advice on managing bleeding, and address any complications.
Frequently Asked Questions (FAQs)
How to keep dogs’ nails short without clipping?
Ever wondered how to keep your pup’s nails in check without the clippers? You’ve got options! Try regular walks on rough surfaces, use a nail file or grinder, or invest in a scratching board. It’s easier than you think!
How do you trim a dog’s nails when they are too long?
Start by getting your pup comfy. Trim small bits at a time, watching for the quick. Use sharp clippers and a bright light. If you’re nervous, enlist a pro’s help. Regular trims keep nails manageable.
How to stop the quick from bleeding?
Don’t panic if you’ve nicked the quick. Apply styptic powder or cornstarch to clot the blood. Press gently for a minute. Keep your pup calm and off their feet. You’ve got this, pet parent!
What to do if I cut my dog’s nail and it bleeds?
Don’t panic! Apply direct pressure with a clean cloth. Then, use styptic powder or cornstarch to stop the bleeding. Keep your pup calm and off their feet for 30 minutes. If bleeding persists, call your vet.
How often should I trim my dogs nails?
You’ll want to trim your pup’s nails every 3-4 weeks. Keep an ear out for that telltale "click-clack" on hard floors – it’s your dog’s way of saying, "Time for a mani-pedi, please!
Can I use human nail clippers for dogs?
You might think human clippers would work, but they’re not ideal for your pup’s nails. Dog-specific trimmers are designed for their unique nail structure, giving you better control and reducing the risk of accidental cuts.
Whats the best time to trim dog nails?
You’ll want to trim your pup’s nails after bath time when they’re softer. It’s like giving yourself a manicure after a long soak! Plus, your furry friend will be more relaxed, making the job a breeze.
Are there alternatives to traditional nail clipping?
Picture a gentle sandpaper caress instead of a sharp snip. You’ve got options! Try a nail grinder for a smooth finish. It’s like giving your pup a mini-pedicure. You’ll feel in control and your furry friend will thank you.
How can I train my dog to enjoy nail trims?
Start slow and make it fun! Offer treats, praise, and play during paw handling. Gradually introduce the trimmer, rewarding calm behavior. Practice often without cutting. Soon, your pup will wag its tail for nail time!
Conclusion
Did you know that 73% of dog owners report anxiety about trimming their pet’s nails?
But with these pro tips, you’re now equipped to tackle dog nail trimming like a champ. Remember, avoiding cutting nails too short is all about patience, practice, and preparation.
By understanding nail anatomy, using the right tools, and creating positive experiences, you’ll keep those paws happy and healthy.

